Curved Poly - Maker Unity Asset Store
Curved Poly - Maker is a Plugin for Unity Editor and its an extended version of CurvedPoly - Shape Editor (so, it contains everything you get with the Shape Editor an with Curved Poly Runtime). You can find version 1.0 on the Unity Asset Store. It contains a set of instruments which improve the way you shape primitives and gives you tools to make custom primitives and models.
CurvedPoly - Maker was previously planned to be released as two separated parts, the first called Shape Control and the second called Maker. During summer 2019 it was decided to merge the two tools into one tool which takes the name of Maker. Features previously planned for Shape Control gives you much more control on shaping (respect to Shape Editor), and they are easier to use. Features you find in Maker which were not planned to be part of Shape Control are more complex to use, and some of them are still on development (please, read carefully the docs to know what you can use safely and what you need to pay more attention for)
Shape Control Operations
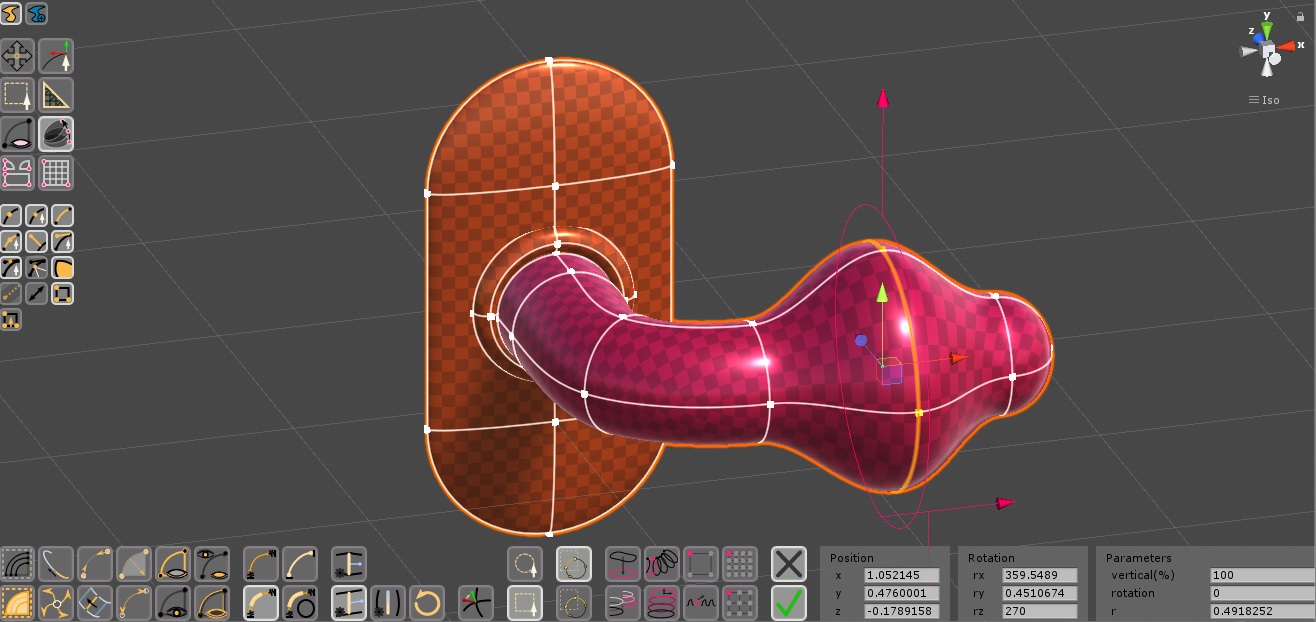
Shape Control is the name of an important Operator which features many instruments to simplify common shaping processsing. For instance, you can use Circlify to force a set of edges to become a circle (without having to reshape vertices and handles one by one), or you can exploit Cylindric Transforms or Free Form Transforms to reshape a group of polygons in ways which are impossible with the Selection Operator.
see the Shape Control Operator Docs
Hide Operator
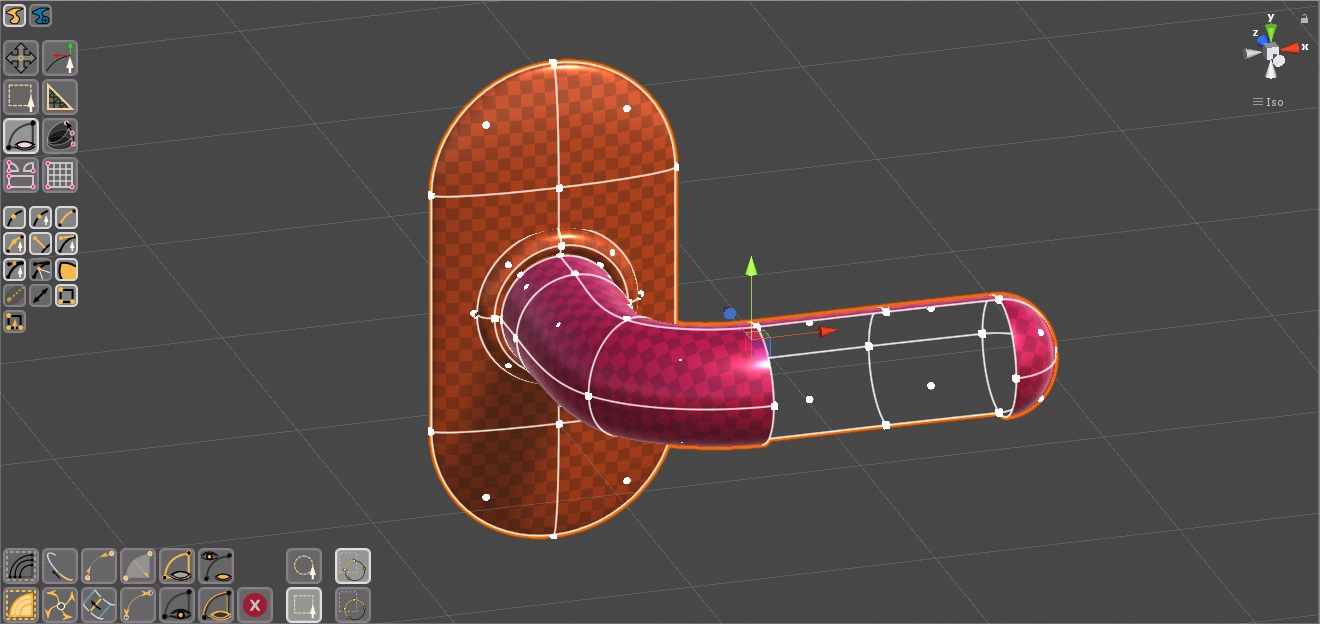
Hides elements in your geometry, making it easier to access parts which are covered by other parts. Hiding polygons affects also the Unity Mesh generated by curved poly, and its bounds, affecting the way in which other Unity Tools will interact with the model.
see the Hide Operator Docs
UV Operator
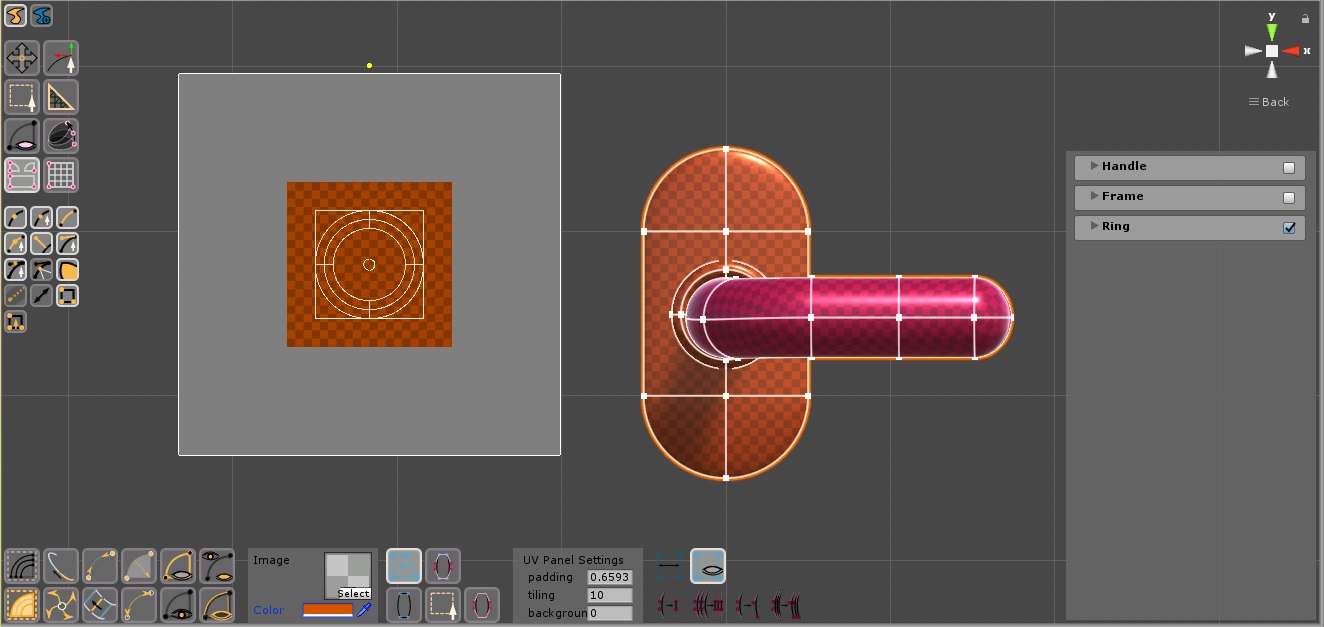
This operator shows a UV-Panel to edit uv coordinates right within the Scene-View. The panel usually appears on the side of the model, but it has a control you can use to drag it where you like in the scene view and you can customize it in many ways (for example loading a texture). You will be able to change uv coordinates for vertices, handles or Unwrap Groups. Unwrap Groups are groups of uv-coordinates you can transform at once on the panel. They are a very important feature of Curved Poly which simplifyies the access to uv-coordinates. They also play an important role in unwrapping processes.
see the UV Operator Docs
Backgrounds Operator
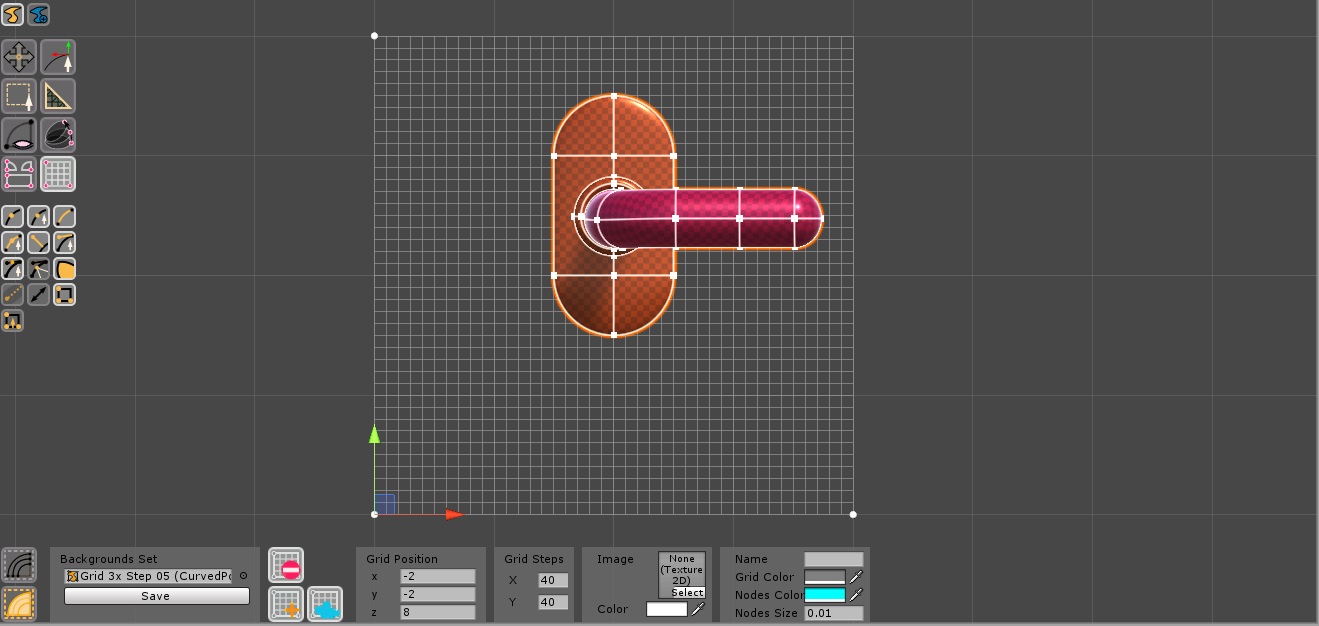
Background Operator allows you to put Grids and Images in the Background. Background grids and images are used as a support tools for modeling. Many tools in Curved Poly will interact with grids.
see the Backgrounds Operator Docs
Create Operator
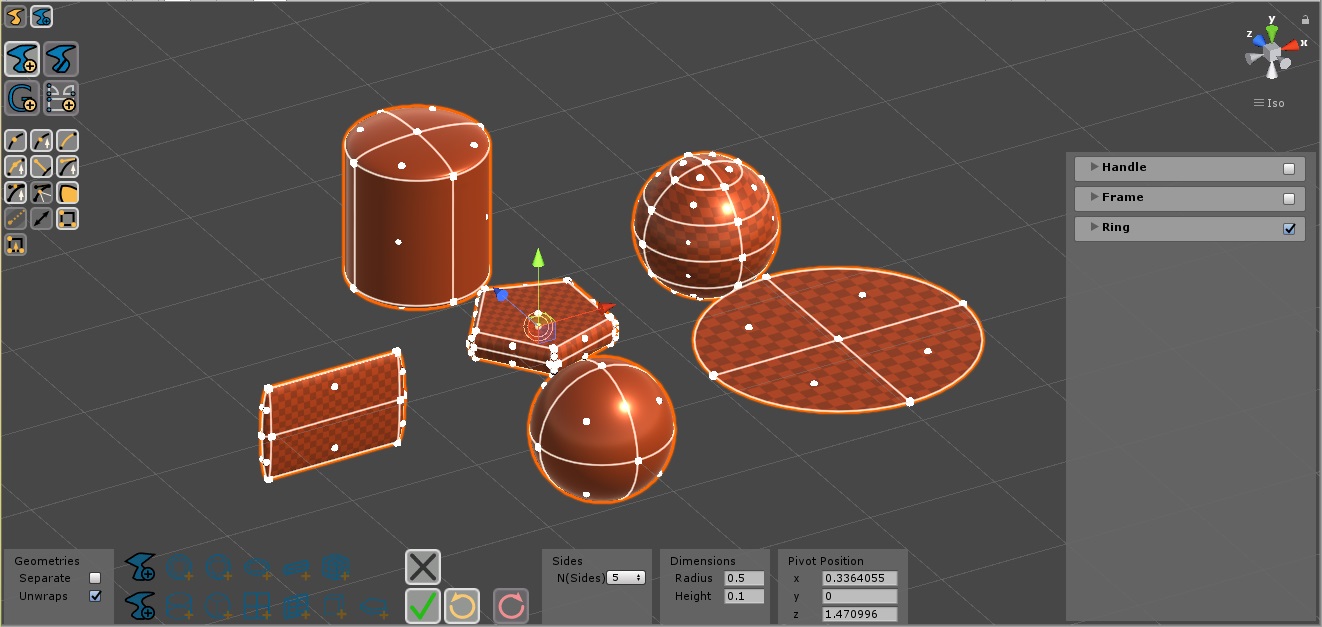
This Operator allows you to mix parts from different shapes. You can also generate custom shapes which are not available with Curved Poly Shape Editor. There is also a button which you can use to import mesh model into a curved poly geometry for further editing.
see the Create Operator Docs
Geometries Operator
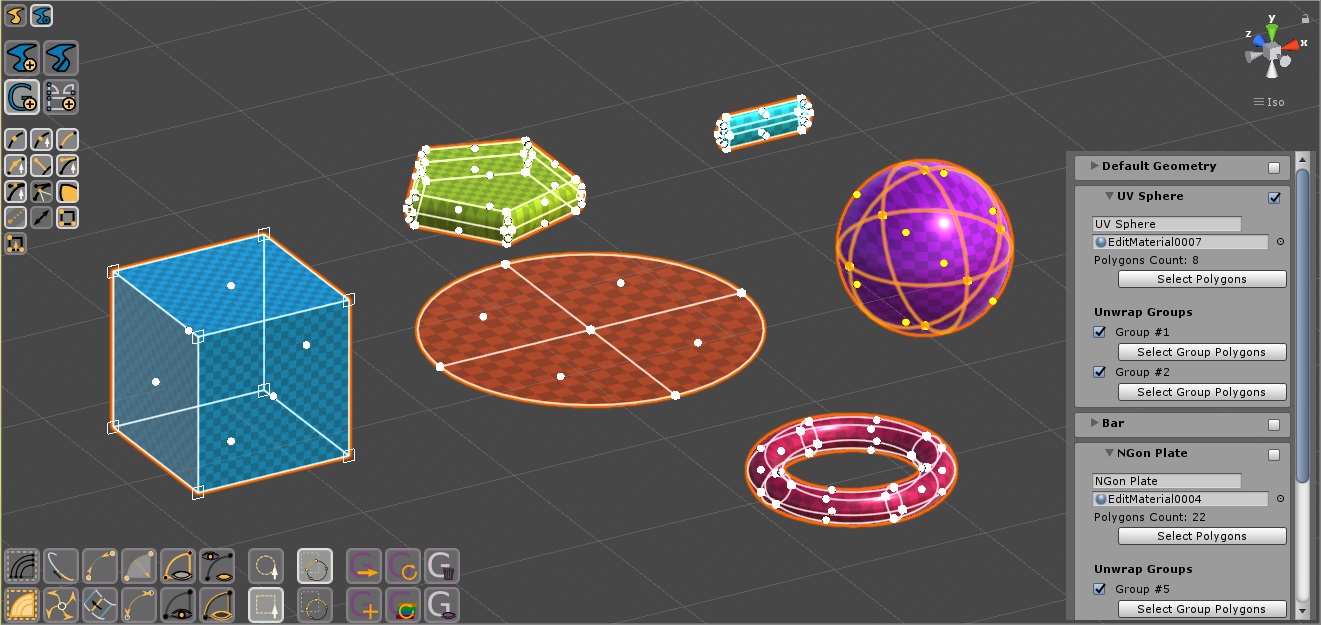
With Curved Poly, a geometry is a subset of a model which can be assigned a different material (in unity every geometry will become a submesh of the same model). With this operator you can split your model into more Geometries.
see the Geometries Operator Docs
Unwraps Operator
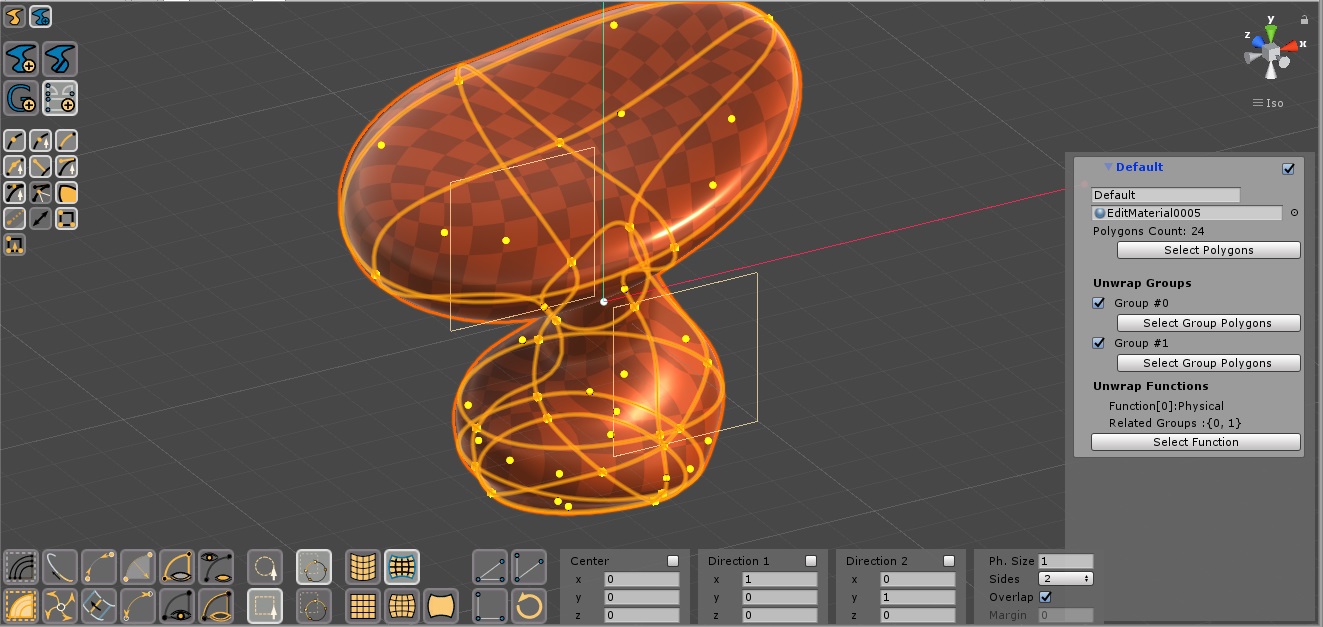
This operators allows you to generate UV Unwraps. You can use different Unwraps functions on different parts of your geometries. Once you have customized your first UV unwraps, you can switch to UV Operator to fix unwrapped coordinates one by one.
see the Unwraps Operator Docs
Edit Operator
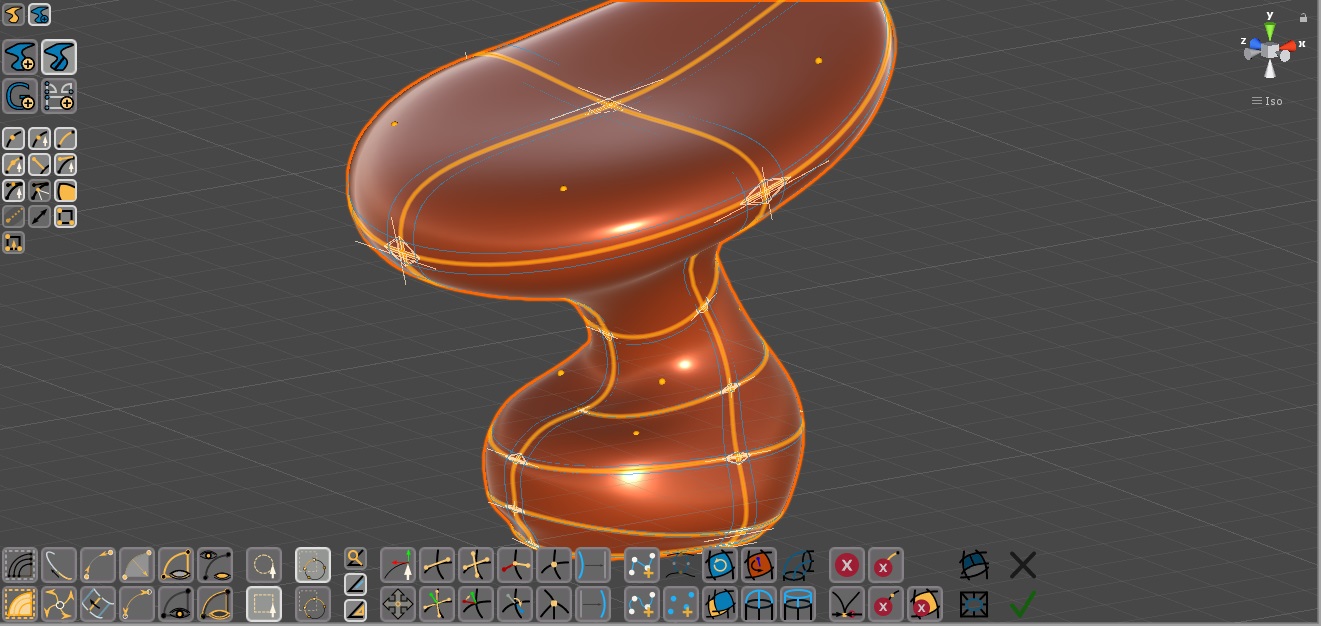
This operator contains a wide set of tools to create Custom Primitives. You can draw freely splines which can be filled with Curved Polygons. Or you can subdivide edges and polygons on other primitives. Or you can duplicate and compose different parts and weld them into one big shape. You can also mix curved edges with linear edges and smooth vertices with sharp vertices.
see the Edit Operator Docs
Making Custom Primitives
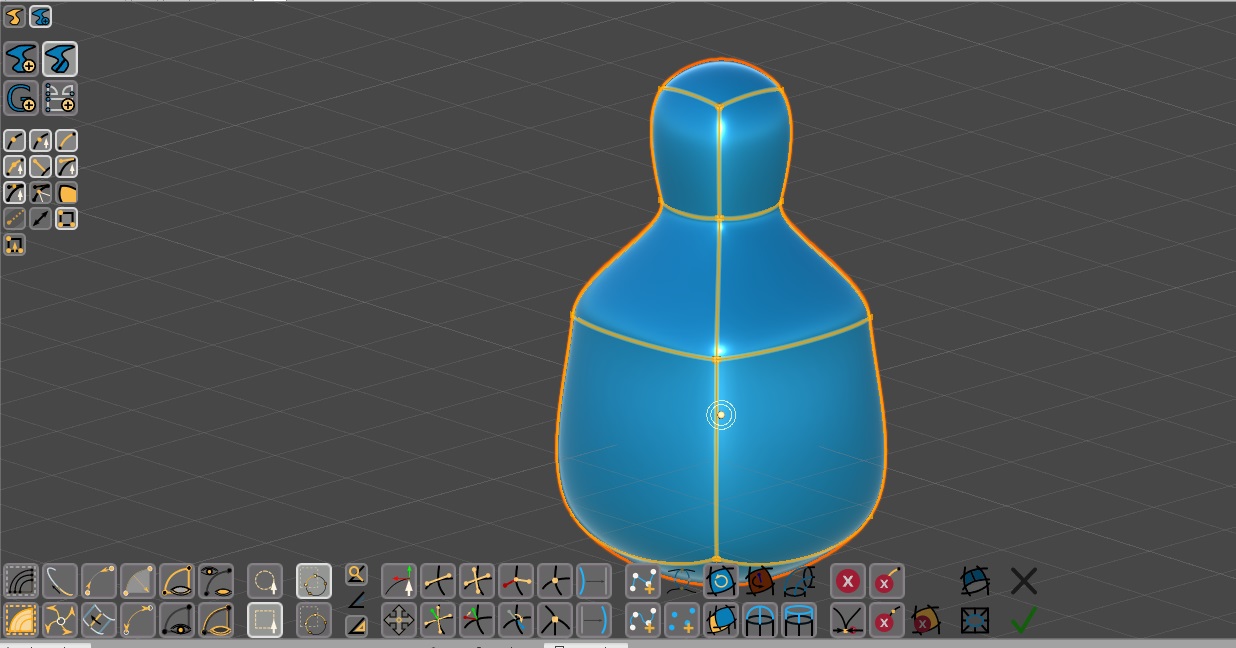
Using the Create Operator and the Edit Operator, there are a lot of different ways to generate new Primitives which can be used with Shaping Tools. Most important of all: you can import a mesh and transform it into a Curved Poly. Follow the docs to discover how many different ways we have to generate custom curved poly shapes.